Showing posts with label paper. Show all posts

Thursday, December 8, 2011

Origami....or oriwrinkley.....Day Five

I had grand visions of beautifully folded Christmas paper in the shape of cranes, giraffes, swans, and frogs adorning our tree. The reality is, while my Christmas paper is beautiful, and I can fold it to make munchies, it is way too thick to fold for origami. So we luckily had 5-6 sheets (6x6) of bright, bold primary colors and were able to get our origami groove on. Check out these really helpful YouTube videos:

I tried the giraffe I really did, I gave up after 20 minutes but if you do it and get it, send me a link, a pic or just a heads up to your success because I would love to see or hear about it!
Our results:


Tuesday, November 29, 2011

Grade School Paper Chains-Day Three

Day three of our handmade Christmas started off clear and bright. It was time to make garland for our beautiful tree, and I went old school.....actually clear back to elementary school.
Remember those chains we used to make in grade school with green and red construction paper. They usually helped track the time to Christmas. I remember tearing a ring off each day until Christmas. I loved paper chains and my kids really haven't brought any home in the last few years so I decided that was going to be our garland project.
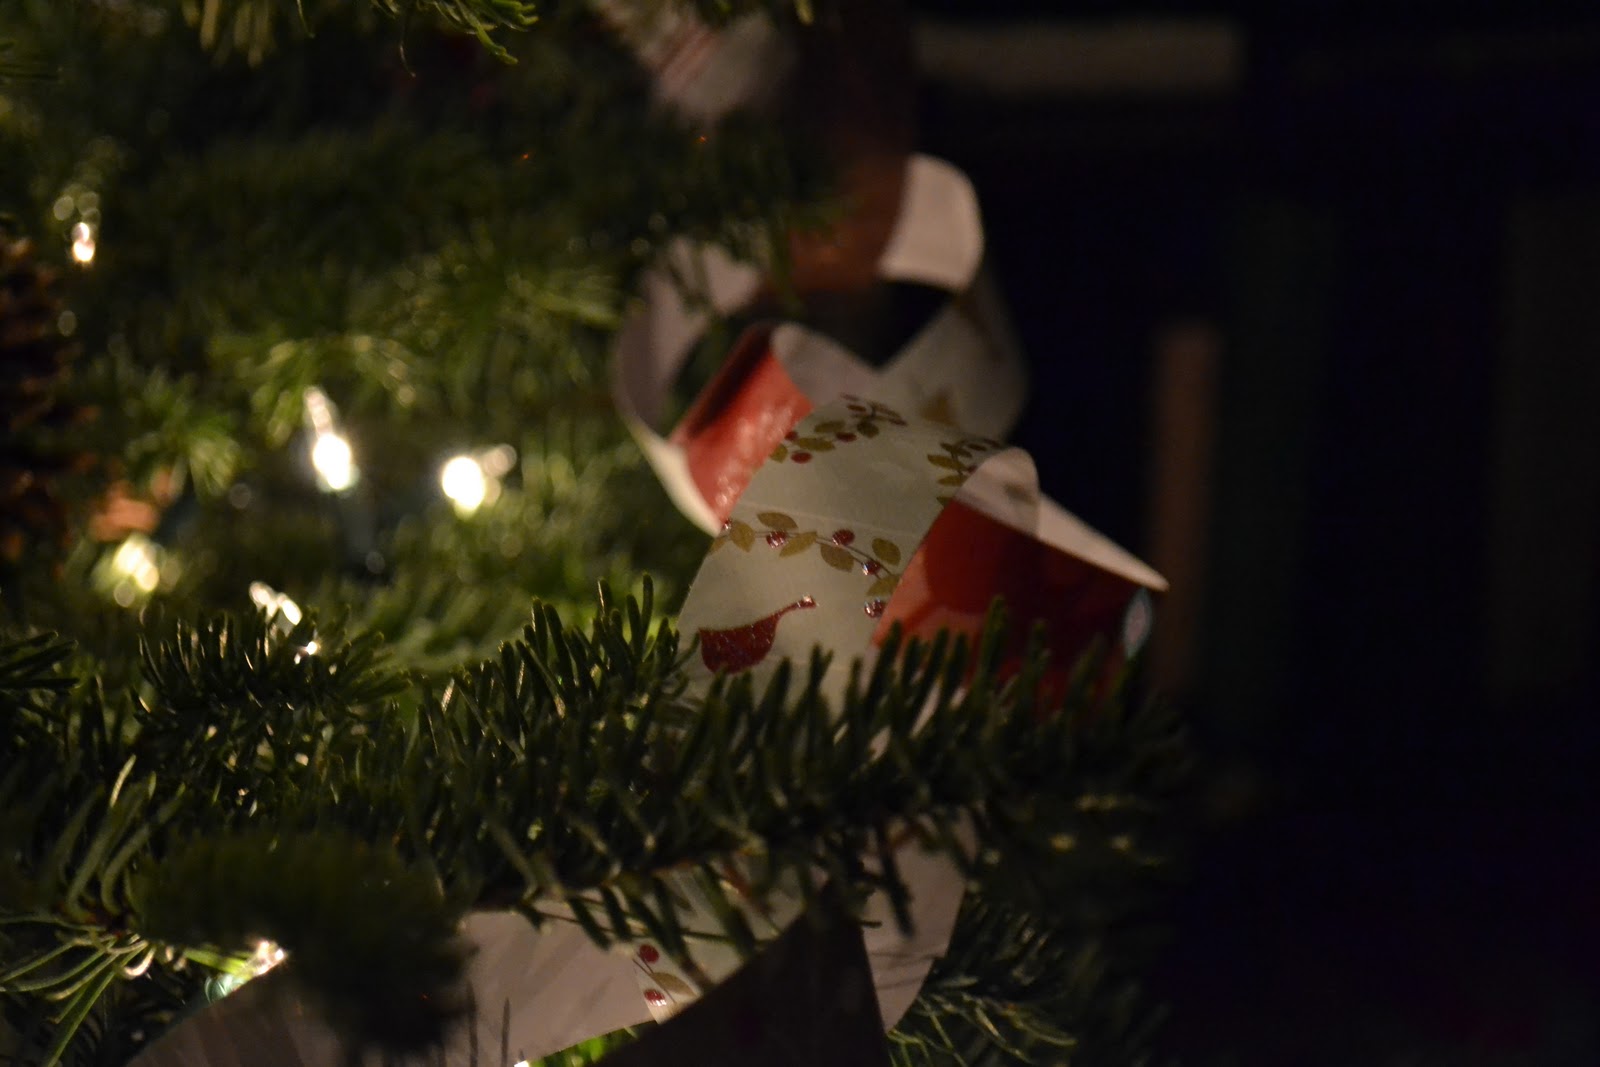
I bought a 12x12 scrapbooking notebook that had a Christmas design, took it to my local copy center and had them cut 6 sets of 1 inch strips. I then laid my strips out in a pleasing order and started stapling.

Once you get a huge long chain you can either wrap it around your tree as one long piece or go the extra step of unstapling and reattaching to make 6-8 solid rings.


It's really simple. I just wrapped the chain around the tree, took my staple remover and removed the staple. I kept the undone strip and attached it to the two rings on the row.

I honestly didn't know how much chain I would need so I rotated from doing a row at around the bottom and then a row around the top just to make sure I had enough chain. I love the way it turned out, so simple and whimsical.

Even upside down works :) I noticed this after I had it done it around the tree but I believe it adds "character" and my husband says I am the only one who will notice....


Is this bringing back any childhood memories for you?


I love the way it looks when the lights are off and the twinkling lights accentuate the shadows and colors of each link.....yes I know I am getting mushy eyed too....


And yes this is the final masterpiece, I ended up with extra chain so I just wrapped it around my banister and called it a day.....day three to be more precise....


Sunday, November 27, 2011

It All Starts with a Tree

If someone would have told me 5 years ago that having my oldest son, destroy, lose or ruin all the ornaments I had been collecting for my kids for years would be a great thing, I may have stuck my tongue out at them. But it's true....we have a much more crafty Christmas as a family. And my kids still talk about the last five Christmas' more than they did the previous five.


It starts with a tree, and not just any ole tree but a tree that I spy at the tree lot that "speaks" to me, one that when I look at all it's branch glory and lil gaps inspires me with ideas. I found such a tree this year and I was inspired by nature, sparkle and just family fun...images of my family around the table laughing, singing, ok being honest a little fighting filled my head...so we bought her and brought her home.
This year we are making handmade ornaments, throwing in some sparkle and mother nature too....follow along for the next 12 days to see how we take "just a tree" to Christmas magic. It all starts with a tree and a lot of lights...